A Docusaurus component that alerts readers the article is over a year old
Displays a warning banner when the page content is over a year old

This article is part of the Creating Docusaurus components series:
- Change how Docusaurus will create img tags
- Overrides the generation of img tags with Docusaurus
- Organize Your Docusaurus Content with a Custom Series Component
- Providing a go to the top button in Docusaurus posts
- Creating a search&replace plugin for Docusaurus
- A component for showing code snippets in a Docusaurus blog
- A Docusaurus component that alerts readers the article is over a year old
- Showing the changelog of your post
- Inject ASCII Art in any HTML pages rendered by Docusaurus
- Best Practice - Customizing the Docusaurus RSS Feed for Full Content & Images
- Running some checks on your Docusaurus images
- Tags management in Docusaurus
- Automating TL;DR Summaries with Gemini AI
- Introducing the ProjectSetup Component - A Standardized Way to Share Project Structures
- How to indicate AI-assisted content in a Docusaurus blog
- Bring Your CLI Tutorials to Life with a Typewriter Terminal
- Meerkat Mischief: Sprinkling Easter Eggs Across my Blog
- AI-Powered Code Tooltips in Docusaurus — Explain Like I'm Five
- Adding Reader Reactions to Your Docusaurus Blog
- Your Blog Is Unreadable to an AI. Here Is the Fix.
- Shake Your Phone, Startle the Meerkat
- Add a "Copy as Markdown" Button to Your Docusaurus Blog
- Ask My Blog: Turning 259 Articles Into 2,160 Searchable Questions
- The Third Door: A Floating Chat Bubble, and the Feature Nobody Could Find
- Drawing a Map of My Own Blog
- Let Readers Flag Issues — A Multi-Type Feedback Widget for Docusaurus
Changelog
review_date front matter support — a recent review date swaps the warning for a green "still accurate" banner; if the review date is itself over a year old, the standard warning reappearslast_update field in the front matter) before the creation date (date field)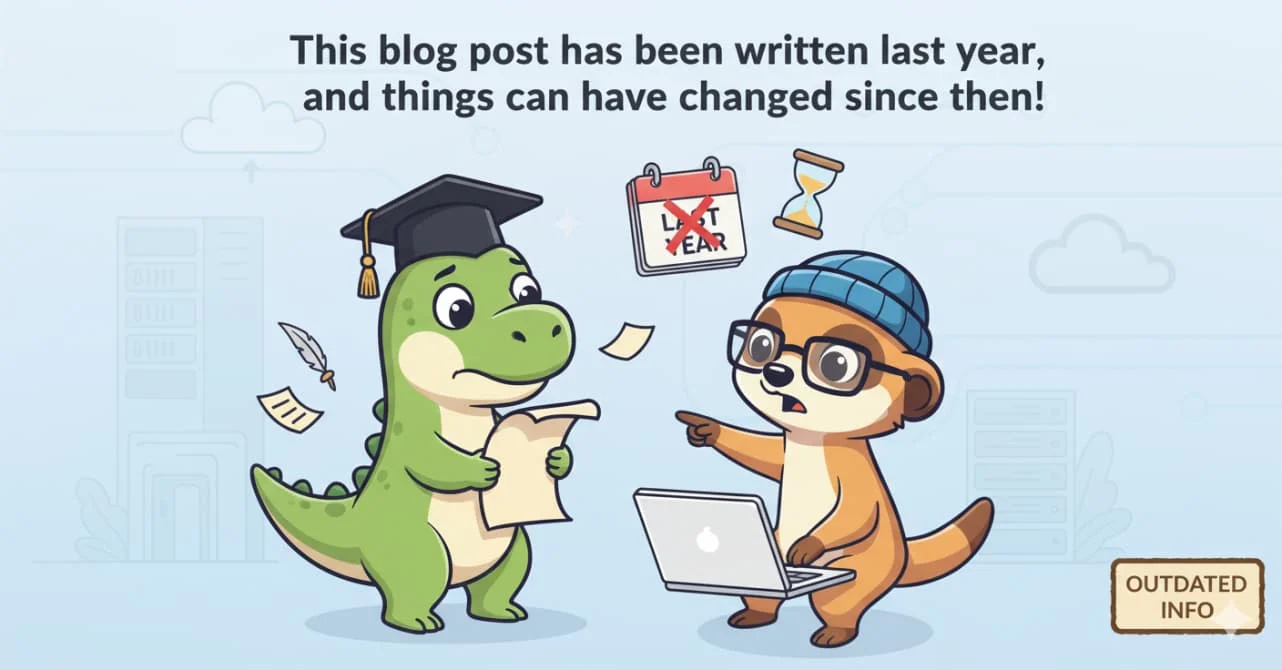
This article demonstrates creating a Docusaurus component to alert readers when a blog post is over a year old. It involves building a React component and "swizzling" the BlogPostPage template to inject this notice. The component determines an article's age by checking its last_update or date field in the front matter.
In this article, let's see how we can display a small frame "Warning: This article is at least a year old, which in tech years is basically prehistoric."
We'll create a React component for Docusaurus, and we'll inject it in our blog post page so, once in place, everything will work automagically.
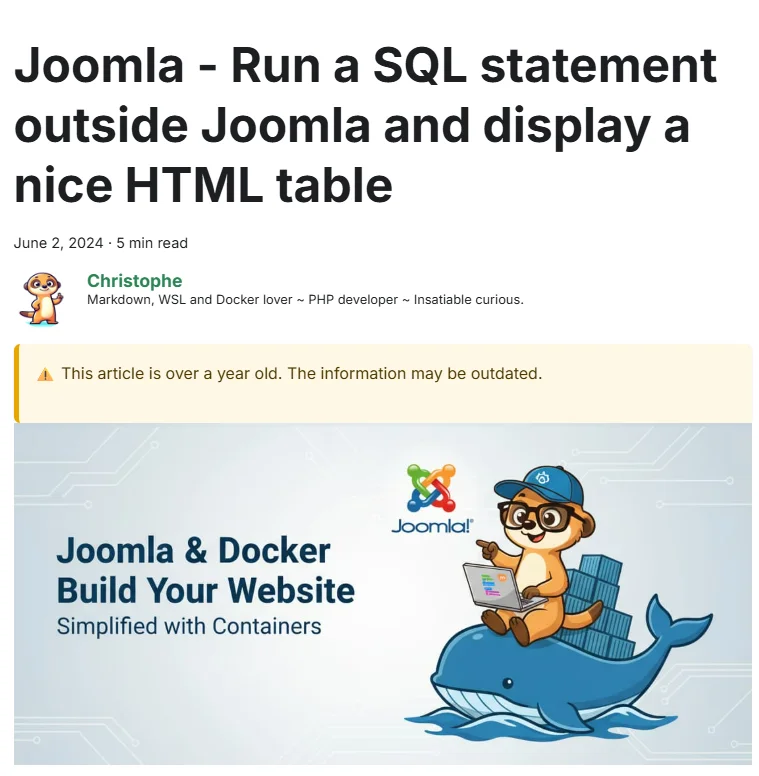
Here it is in action, on an old post of this very blog:
Let's build it.
Create the component
You'll need to create two new files in your own Docusaurus site:
Need help here? Click the "Help" button above for setup instructions.
Override BlogPostPage template
In terms of Docusaurus, we'll need to swizzle the page that is responsible for rendering a post. That page is called BlogPostPage.
To do this, please start a console and run yarn swizzle @docusaurus/theme-classic BlogPostItem/Content.
From now, you'll have a new file on your disk: src/theme/BlogPostItem/Content/index.js
You may already have that file
Showing the changelog of your post swizzles exactly the same file. If you've followed that article, just add the new component next to the existing one instead of swizzling again.
Below, the original content of the file (Docusaurus v3.8.1):
import React from 'react';import clsx from 'clsx';import {blogPostContainerID} from '@docusaurus/utils-common';import {useBlogPost} from '@docusaurus/plugin-content-blog/client';import MDXContent from '@theme/MDXContent';export default function BlogPostItemContent({children, className}) { const {isBlogPostPage} = useBlogPost(); return ( <div // This ID is used for the feed generation to locate the main content id={isBlogPostPage ? blogPostContainerID : undefined} className={clsx('markdown', className)}> <MDXContent>{children}</MDXContent> </div> );}This React component wraps blog post content in a styled div container. It uses a hook to check whether we're viewing a full blog post page versus a preview, and conditionally adds an ID that's used by the feed generation system to locate the main content.
To inject our new OldPostNotice component, please edit the file like this (see highlighted lines):
import React from 'react';import clsx from 'clsx';import {blogPostContainerID} from '@docusaurus/utils-common';import {useBlogPost} from '@docusaurus/plugin-content-blog/client';import MDXContent from '@theme/MDXContent';// highlight-next-lineimport OldPostNotice from "@site/src/components/Blog/OldPostNotice";
export default function BlogPostItemContent({children, className}) { const {isBlogPostPage} = useBlogPost(); return ( // highlight-next-line <> // highlight-next-line <OldPostNotice /> <div // This ID is used for the feed generation to locate the main content id={isBlogPostPage ? blogPostContainerID : undefined} className={clsx('markdown', className)}> <MDXContent>{children}</MDXContent> </div> // highlight-next-line </> );}This React component wraps blog post content for display. It adds a notice component at the top and then renders the actual post content inside a div with special styling and an ID that's used by the feed generation system. The ID is only added when viewing the full blog post page, not when viewing excerpts elsewhere.
Save the file and refresh your blog. You should get the same banner already teased at the top of this article.
Information
The component is using the date field that you have to mention in your YAML front matter.
So, in each of your .md post, you should have a YAML block like this:
---
title: Your blog post article
authors: [you]
date: 2025-09-30
---
Marking a reviewed post
If you revisit an old article and confirm the content is still accurate, you can add a review_date field to the front matter:
---
date: 2023-05-10
review_date: 2026-07-30
---
When review_date is present and less than a year old, the component swaps the orange warning for a green confirmation banner:
✅ This article is over a year old but was reviewed on July 30, 2026 — the content is still accurate.
If review_date itself is over a year old, the standard warning reappears — because a stale review is no better than no review at all.
Position of the warning
The notice will be placed before the post content. On my blog, I've manipulated the code below to extract the very first image (i.e. the banner) so I can display it first, then the notice information, then the rest of the article. But that's probably too complex right now. We'll see this in a future article.
The banner image is treated differently from the other ones for exactly the same reason in Change how Docusaurus will create img tags: the first image of a post is special and should be left alone.
<div
  // This ID is used for the feed generation to locate the main content
  id={isBlogPostPage ? blogPostContainerID : undefined}
  className={clsx('markdown', className)}>
  <MDXContent>{children}</MDXContent>
</div>
This article is part of the Creating Docusaurus components series:
- Change how Docusaurus will create img tags
- Overrides the generation of img tags with Docusaurus
- Organize Your Docusaurus Content with a Custom Series Component
- Providing a go to the top button in Docusaurus posts
- Creating a search&replace plugin for Docusaurus
- A component for showing code snippets in a Docusaurus blog
- A Docusaurus component that alerts readers the article is over a year old
- Showing the changelog of your post
- Inject ASCII Art in any HTML pages rendered by Docusaurus
- Best Practice - Customizing the Docusaurus RSS Feed for Full Content & Images
- Running some checks on your Docusaurus images
- Tags management in Docusaurus
- Automating TL;DR Summaries with Gemini AI
- Introducing the ProjectSetup Component - A Standardized Way to Share Project Structures
- How to indicate AI-assisted content in a Docusaurus blog
- Bring Your CLI Tutorials to Life with a Typewriter Terminal
- Meerkat Mischief: Sprinkling Easter Eggs Across my Blog
- AI-Powered Code Tooltips in Docusaurus — Explain Like I'm Five
- Adding Reader Reactions to Your Docusaurus Blog
- Your Blog Is Unreadable to an AI. Here Is the Fix.
- Shake Your Phone, Startle the Meerkat
- Add a "Copy as Markdown" Button to Your Docusaurus Blog
- Ask My Blog: Turning 259 Articles Into 2,160 Searchable Questions
- The Third Door: A Floating Chat Bubble, and the Feature Nobody Could Find
- Drawing a Map of My Own Blog
- Let Readers Flag Issues — A Multi-Type Feedback Widget for Docusaurus
Loading comments…
Related posts
Drawing a Map of My Own Blog
October 8, 2026
Ask My Blog: Turning 259 Articles Into 2,160 Searchable Questions
September 28, 2026
Add a "Copy as Markdown" Button to Your Docusaurus Blog
September 10, 2026
Shake Your Phone, Startle the Meerkat
August 27, 2026