Running Docusaurus using Docker
Streamline Docusaurus blog development! Build a single Docker image for production and use VS Code Dev Containers for consistent, fast, and isolated editing.

This article is over a year old. The information may be outdated.
This article is part of the Running Docusaurus using Docker series:
- Running Docusaurus with Docker
- Encapsulate an entire Docusaurus site in a Docker image
- Running Docusaurus using Docker

This guide details how to streamline Docusaurus blog development using Docker. It outlines creating a single Docker image for production builds and leveraging VS Code Dev Containers for a consistent, fast, and isolated development environment. The setup enhances the workflow with integrated tools like LanguageTool and Code Spell Checker for improved content quality.
Streamline your Docusaurus workflow with a clean, reproducible setup. In this updated guide, you'll learn how to maintain a Docusaurus blog using a single Docker image, VSCode DevContainers, and a workflow that makes both production builds and day-to-day writing fast and reliable.
Eighteen months ago, I published Encapsulate an entire Docusaurus site in a Docker image but, since then, I've refined the approach, especially around separating production and development environments cleanly (see One Docker Image for Production and Devcontainers - The Clean Way).
With this setup:
- You run
make buildonce to create a base Docker image. - You launch your editing environment with
make devcontainer. - VSCode automatically builds and opens an isolated container with everything configured.
If Docusaurus itself is new to you, start with Running Docusaurus with Docker; and once the site is built, GitHub - Use Actions to deploy this blog takes care of publishing it.
Let’s walk through the complete workflow.
Here's where we're headed: make build once, make up, and the blog is already running.
A few commands below and you'll be there too.
What we'll learn here:
- Retrieve a Docusaurus blog,
- Create a Docker image to run the blog
- Open the project in VSCode using DevContainers
- Enhance the environment with extensions like LanguageTool, Code Spell Checker or Markdown lint.
Retrieve a Docusaurus blog
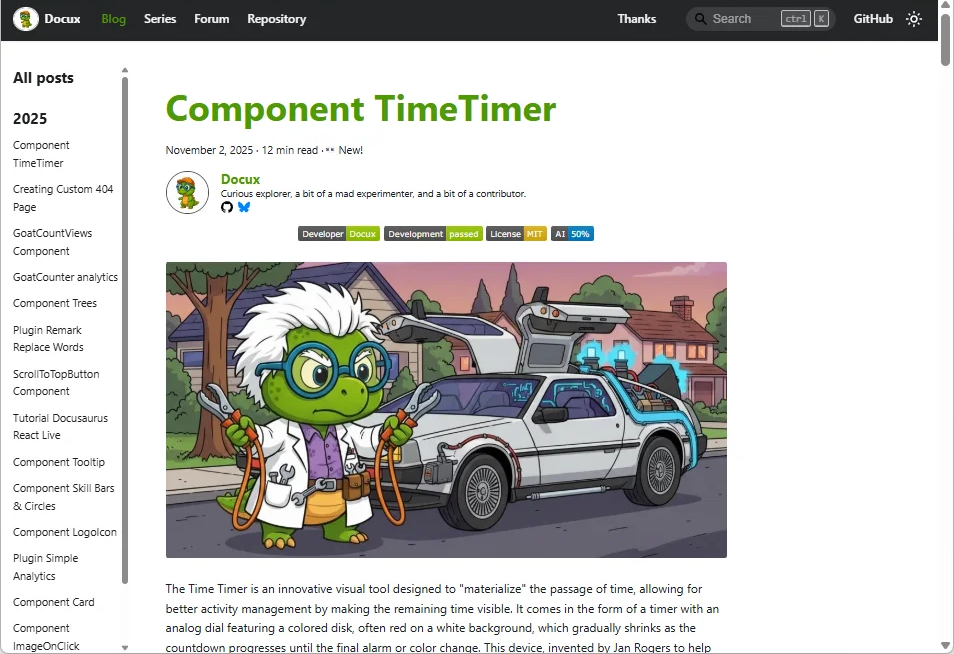
If you already have a Docusaurus blog, just skip this chapter. For demonstration purposes, we'll use my friend's blog, Docux who is publishing very useful Docusaurus components and plugins.
Grab a copy of his blog by running commands below:
Create the base Docker image
If you're new to Docusaurus, you might wonder: How can I just run the blog locally?. The fast answer is: by running a self-contained Docker image and we'll learn that in this chapter.
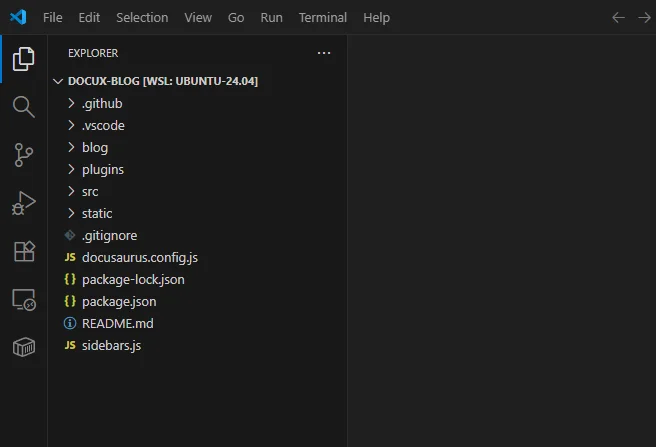
Please first open VSCode by running code .:
You should now see the project structure in your editor.
Create required files
In the root of the project, create the following files:
Need help here? Click the "Help" button above for setup instructions.
Build and run the production image
Once the files are in place, in a console, please run make and you'll get a screen like this:
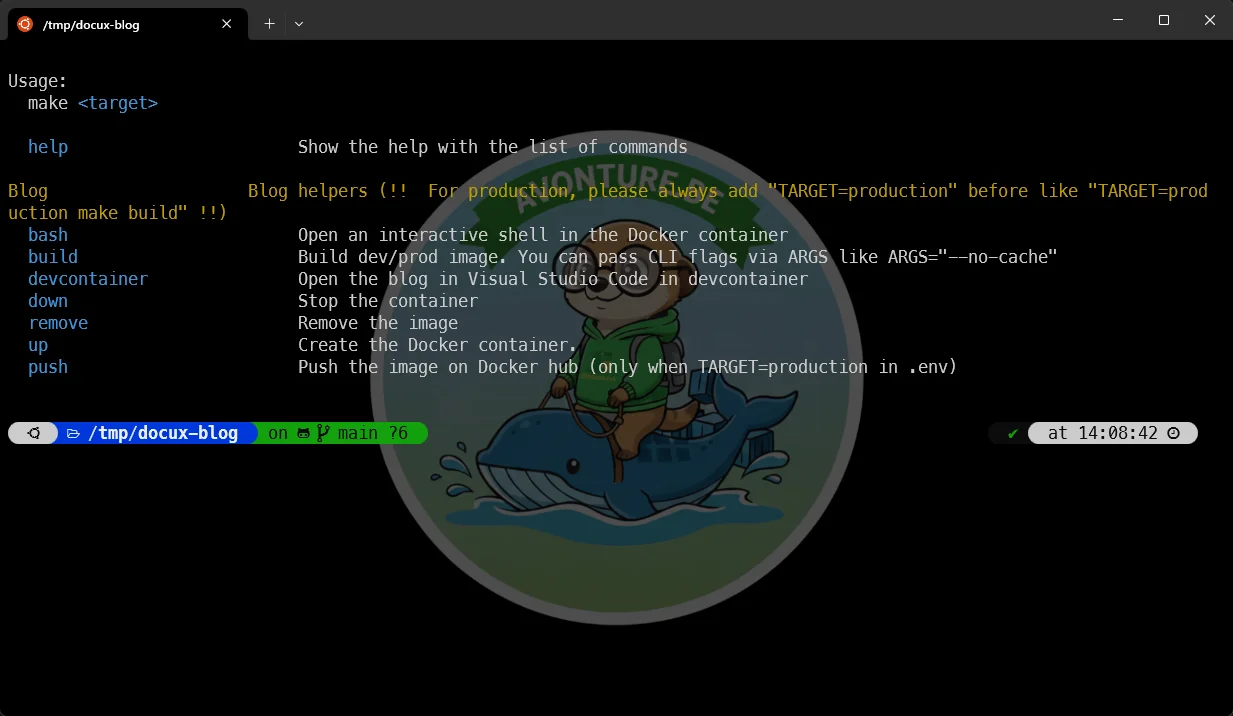
If make isn't yet installed on your machine, you'll get an error so please make sure to first install make:
Now we have to run two commands, the first one will create a Docker image for production i.e. where everything is included in the image.
You'll get a screen like this one and you'll have to wait something like 80 seconds until the image is built.

This done, please run the second command to create a running instance of the image i.e. a container:
This will be very fast and you'll see on the console a message telling Open the PROD blog (https://localhost).
And you know what? It's already done: just surf to https://localhost and be surprised — the blog is running, the same result already teased at the top of this article.
What have we done?
By running TARGET=production make build we've created a standalone version of the blog running on nginx. We've encapsulated all articles from the blog (as Markdown files) and we've fired all the required commands to generate the static version of the blog. We've parked these files in a temporary location.
We've created the final image by using nginx and by copying static files created earlier in the image.
By running TARGET=production make up we've created a running instance (called container) of that image and we've asked our operating system to access the container on port 443 (the one of the https protocol). That's why, if we access https://localhost we get the website.
Using DevContainers for Development
Building the production image is nice and helpful if you want to publish it on Docker Hub, but we also need a smooth editing workflow. Using VS Code DevContainers, we get a fully isolated environment tailored for Docusaurus.
First, run make build (notice, we don't specify TARGET=production here). It'll be extremely fast since everything was already created before.
Next, run make devcontainer to open VSCode and nothing happens right now: it's normal, we need to create additional files.
Run both in one command
Under Linux, you can run make build && make devcontainer to run both in just one command.
Create the .devcontainer folder
We'll need to create a new .devcontainer folder with a few files:
Need help here? Click the "Help" button above for setup instructions.
Make sure to use your own UID/GID
Please edit the .devcontainer/.env file and make sure these values are the ones you're using: please run id -u in your console and check if you get 1000. If not, please report the obtained figure (f.i. 1002) as OS_USERID and do the same with the command id -g, here, it's for the OS_GROUPID variable.
Since we have two bash scripts, we need to make them executable. Please run this command in a terminal:
Now we have to open the devcontainer so please run:
Once in VSCode, please press F1 to open the Command Palette and run Dev Containers: Rebuild Without Cache and Reopen in Container.
Don't have it?
If you don't have this command, please make sure to install the VSCode Dev Container from Microsoft.
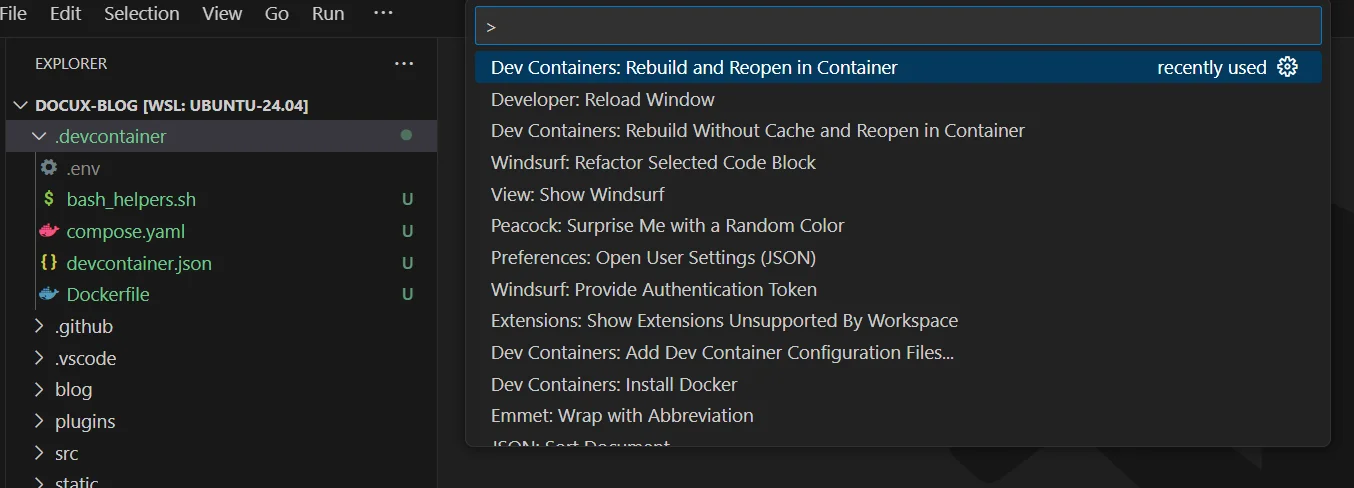
Please click and thus run the Dev Containers: Rebuild and Reopen in Container action. If you look at the terminal (from inside VSCode), you'll get a lot of messages like the ones below:
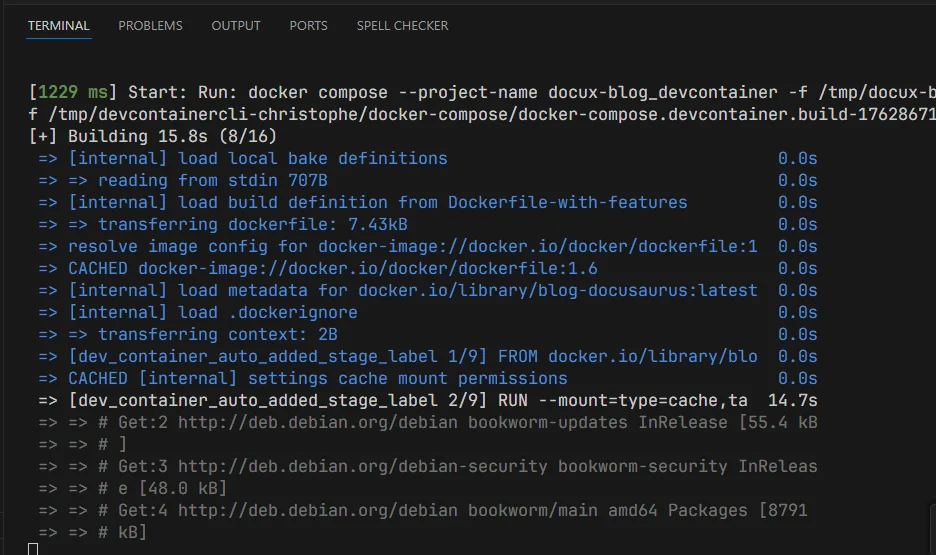
At some point in time, you'll see this:

It means that Docusaurus is ready to serve your content.
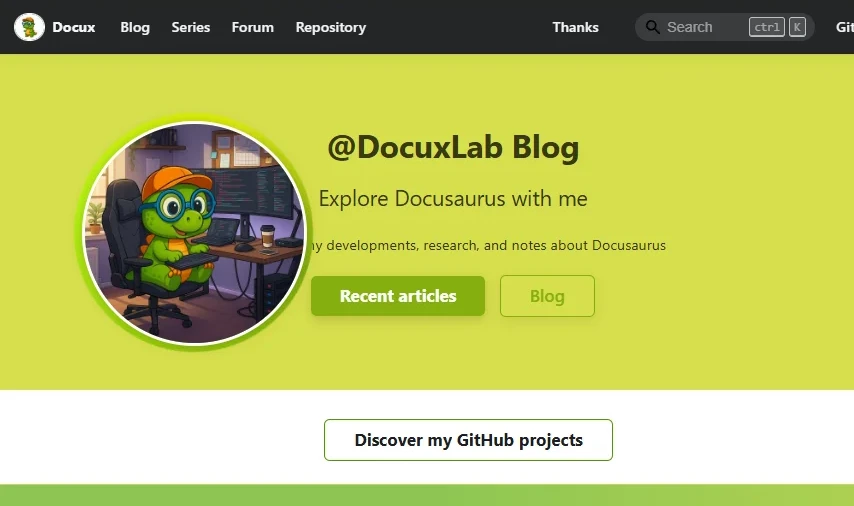
Please surf to https://localhost:3000 and tadaaa.
Let's play. Open the blog folder and create a new file called index.md:
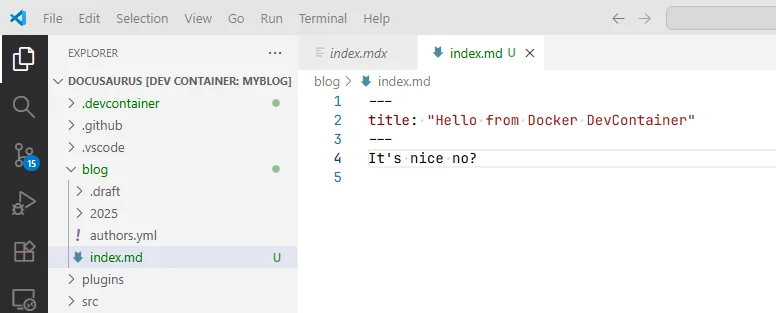
Save it and, oh?, your browser will immediately reflect the change (hot reload is indeed enabled):
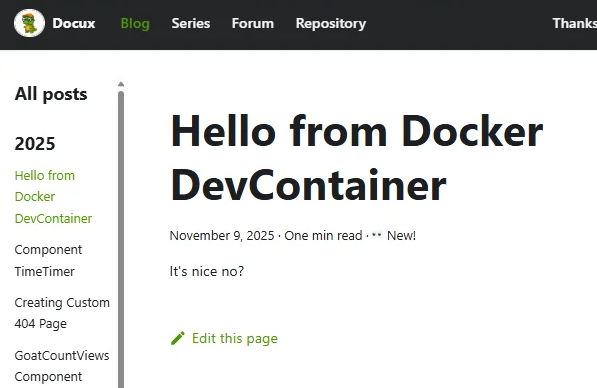
Running the terminal from the devcontainer
Something really cool too is the use of the Terminal still inside VSCode.
In case of need, press CTRL+ù to open the Terminal and see the + button top right in that window. Click on the + to create a new one:

Did you see? You get a welcome screen with a few actions you can run. For instance, to upgrade Docusaurus to the latest version, you just need to run upgrade and that's all.
Could we make easier than this?
From where comes this welcome screen?
See the .devcontainer/bash_helpers.sh file you've previously copied/pasted.
You'll in the Bash script the design of the welcome screen and also a few aliases like version to get the version of the installed Docusaurus instance.
What are the advantages of such approach?
There are so numerous... Let's start with this one: on my host, I've just Docker and that's all. I don't need to install Node as needed by Docusaurus neither any Linux dependencies.
I can also build my blog as a standalone image. Just look at my cavo789/blog Docker image on https://hub.docker.com/r/cavo789/blog. If you want to run it on your own machine, you just need to run docker pull cavo789/blog && docker run -d -p 443:443 --name blog cavo789/blog then surf on https://localhost and that's all.
Using a Devcontainer like illustrated in this article, you can also fine-tune your environment i.e. tell which extension in VSCode has to be installed and how that extension has to be configured. You can also define the look&feel of the editor (the font, size, color, template, ...).
Since everything is isolated, you can drop the container and recreate it without pain.
Working with a team? Devcontainer is then the way-to-go since everyone will have the exact same environment.
Using LanguageTool in VSCode
Let's see one of the many advantages: instead of just using VSCode to write our posts, let's use LanguageTool which provides basic grammar and spellchecking for your posts.
And you know what? You already have it. See your .devcontainer/compose.yaml file. You'll see a service called languagetool based on a Docker image called erikvl87/languagetool. And now, see your .devcontainer/devcontainer.json file. Search for languageToolLinter and you'll see a local URL (based on an IP); this is the one exposed by the service. And look further for the davidlday.languagetool-linter extension, this is the one that'll make the magic happen.
Here's an example of how LanguageTool works:

For sure, the correct sentence should be This example illustrates LanguageTool in action.
Code Spell Checker
Here is another example, a mistake a French-speaking person can make inadvertently:

Here, the extension used is Code Spell Checker from streetsidesoftware.
Markdown lint
And perhaps, while you write your Markdown content, VSCode will show you errors displayed in orange like MD047/single-training-newline to tell you that you forgot to add an empty line at the very bottom of the file.
These warnings come from Markdownlint which is another extension already installed in the devcontainer.
This article is part of the Running Docusaurus using Docker series:
- Running Docusaurus with Docker
- Encapsulate an entire Docusaurus site in a Docker image
- Running Docusaurus using Docker
Loading comments…
Related posts


Drawing a Map of My Own Blog
October 8, 2026
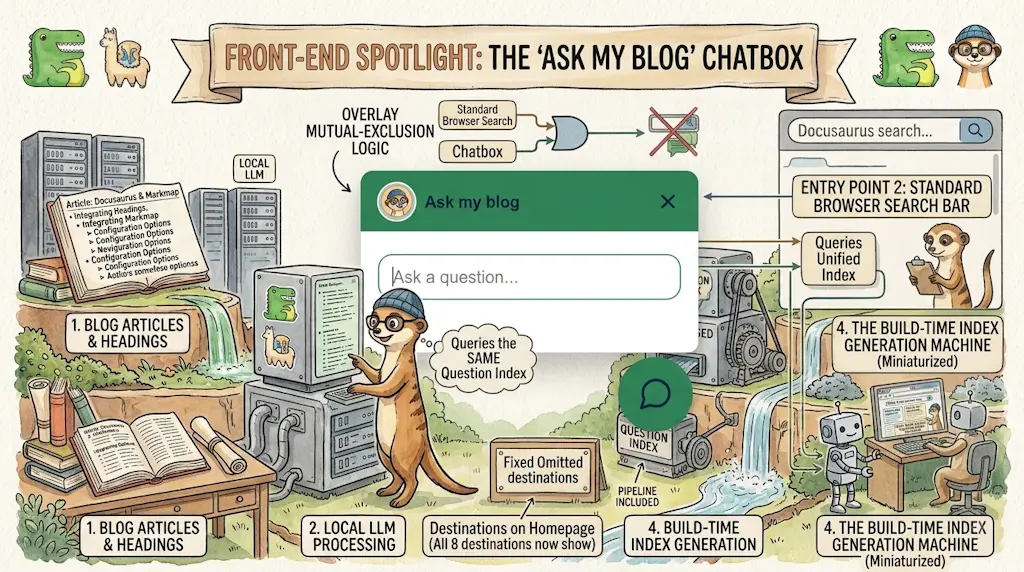
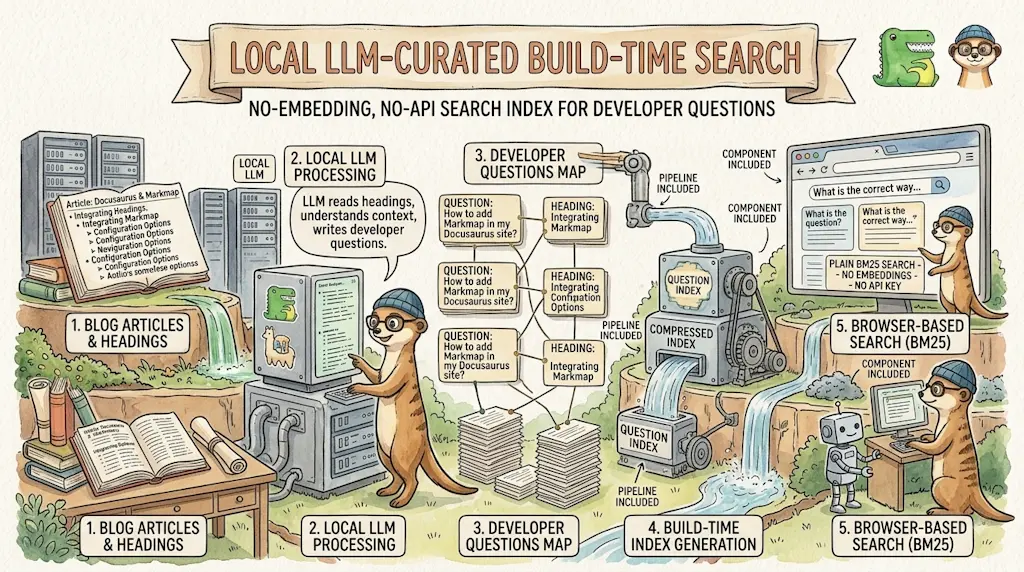
Ask My Blog: Turning 259 Articles Into 2,160 Searchable Questions
September 28, 2026
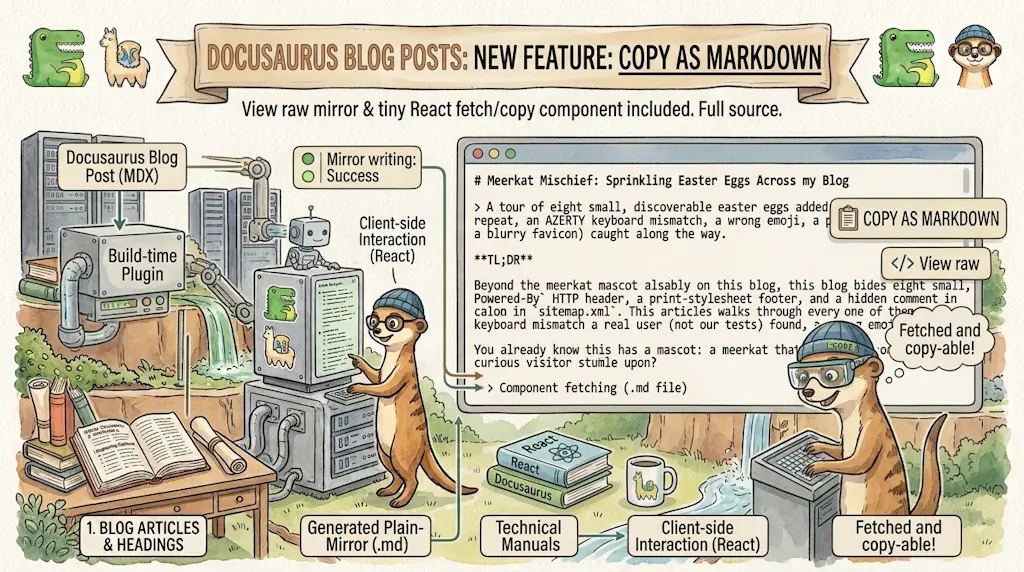
Add a "Copy as Markdown" Button to Your Docusaurus Blog
September 10, 2026