How to Use the Project Setup Component
The Project Setup component is a powerful tool designed to help you quickly scaffold a new project. It provides a list of files and offers two main ways to get started: downloading a ZIP archive or using a generated installation script.
Below a fully functional example of the component looks like.
Need help here? Click the "Help" button above for setup instructions.
 Option 1: Download as a ZIP File
This is the simplest way to get all the project files on your local machine.
- Click the "ZIP" button: This will bundle all the files and folders into a single
.ziparchive and trigger a download in your browser. - Save the file: Choose a location on your computer to save the ZIP file.
- Uncompress the archive:
- Windows
- Linux/macOS
Right-click the downloaded file and select "Extract All...". Choose a destination folder, and the files will be uncompressed there.
Open your terminal, navigate to the directory where you saved the file, and run:
unzip your-project-name.zip -d your-project-name
- Read the
README.md: Inside the uncompressed folder, you'll find aREADME.mdfile. It contains the next steps, such as installation commands (e.g.,npm install) and how to run the project.
MS-DOS example
Below an example of how using the ZIP in an MS-DOS console. Just download the archive, unzip it , use cd to jump in the folder where files are located then, finally, display the instructions (type README.md) and follow them in order to run the project.
In the example below, instructions are to run docker compose up -d then to open a webpage.

 Option 2: Generate Install Script
This option is ideal for users who are comfortable with the command line (Linux, macOS, or WSL on Windows). It generates a "one-liner" script that creates all the files and folders directly in your terminal.
- Click the "Generate install script" button: This will switch the view from the file list to a code block containing a Bash script.
- Copy the script: Click the "Copy" button to copy the entire script to your clipboard.
- Paste and run in your terminal:
- Open your terminal.
- Navigate to the directory where you want to create the project.
- Paste the script and press
Enter.
- Follow the on-screen instructions: The script will create the project folder, all the necessary subdirectories and files, and then print the next steps to follow.
Click on the Copy button
Once you've clicked on the Generate install script button, you've to click on the Copy button to copy it in your clipboard.
Start a console (MS-DOS, Powershell or most likely a Linux/WSL one) and paste the content of the clipboard.
This done, press Enter.

Then start a console (Ubuntu in the example below) and paste:
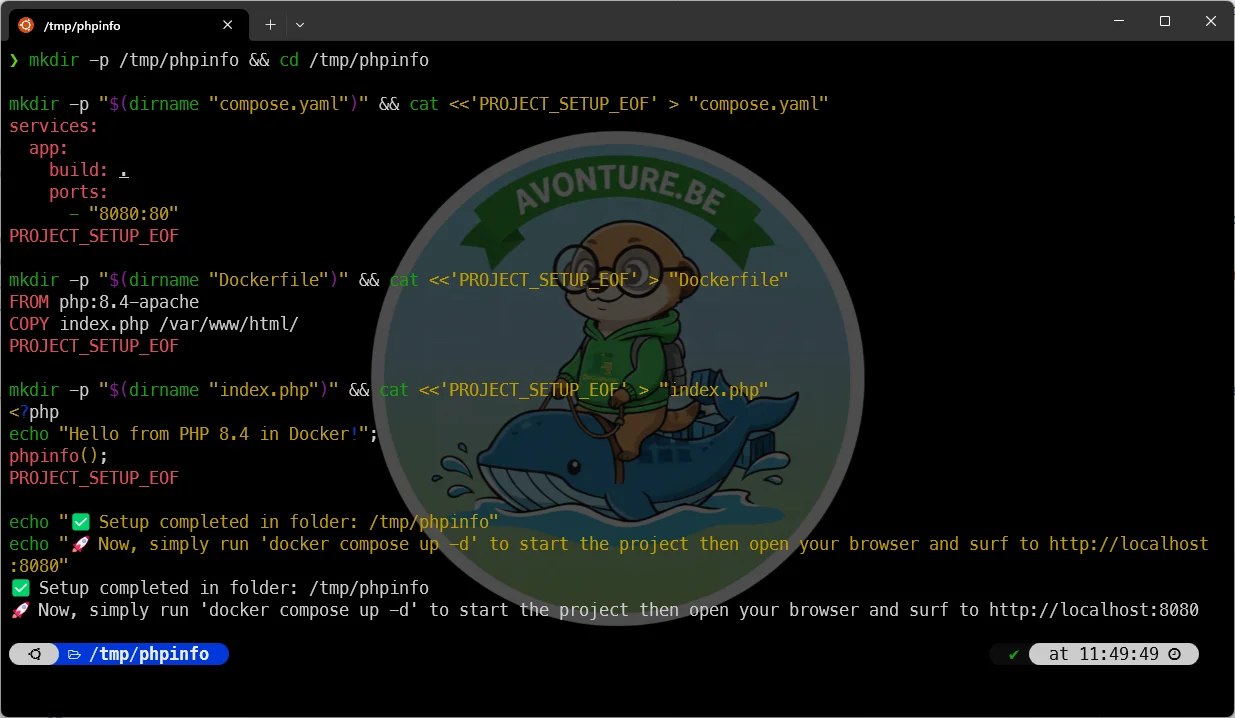
As you can see on the image, instructions are then displayed at the bottom of the screen.
 Option 3: Manual File Creation
If you prefer to create the files yourself, you can do so by following these steps:
- Create the project folder: Manually create the main folder for your project (e.g.,
my-project) or jump in any existing one. - View the file list: In the Project Setup component, you can see a list of all the files and their content.
- Create each file: For each file in the list, create a new file with the same name and copy the content into it.
- Create empty folders: If there are any empty folders specified, make sure to create them as well.
- Follow the guidelines: After creating all the files, follow the instructions provided in the "guidelines" section of the component to install dependencies and run the project.