Quickly install WordPress in just three commands


Do you think it's possible to run a new WordPress site in just three commands? Impossible, isn't it. Well, in fact, yes, it's possible.
Let's take a look...
In the Create your Joomla website using Docker article, we learned that if we need more than one Docker service (php/apache as well as mysql), we need to have a docker-compose.yml file. It's true and it's the easiest way to manage the application.
But we can run Docker containers by hand and, in that case, no such file is needed. We'll learn this technique in this article.
First step, we need a network
Using a network will allow containers to communicate with each other.
As soon as you've two or more containers, you need a network.
We'll create our. Please copy/paste the command below in a terminal (DOS or Linux) and run it.
docker network create wordpress
Second step, we need a database container
For this article, I propose to use MySQL 8.x or, if you prefer it, MariaDB 11.x. Select the one you prefer and execute the command in a terminal.
For MySQL 8.x:
docker run -d --name db_wordpress --hostname db_wordpress --network wordpress -e MYSQL_RANDOM_ROOT_PASSWORD=1 -e MYSQL_DATABASE=wordpress -e MYSQL_USER=wpuser -e MYSQL_PASSWORD=example mysql:8.0.13
For MariaDB:
docker run -d --name db_wordpress --hostname db_wordpress --network wordpress -e MYSQL_RANDOM_ROOT_PASSWORD=1 -e MYSQL_DATABASE=wordpress -e MYSQL_USER=wpuser -e MYSQL_PASSWORD=example mariadb:11.2.2
Once started by Docker, the MySQL / MariaDB container will create an empty database called wordpress, a user called wpuser and his password will be example (as defined by our variables MYSQL_DATABASE, MYSQL_USER and MYSQL_PASSWORD). The container will be named db_wordpress (as defined by --hostname).
Third step, we need WordPress
And now, we need a second container for WordPress itself. I propose to use the latest version on that time:
docker run -d --name app_wordpress --hostname app_wordpress --network wordpress -p 8080:80 -e WORDPRESS_DB_HOST=db_wordpress -e WORDPRESS_DB_NAME=wordpress -e WORDPRESS_DB_USER=wpuser -e WORDPRESS_DB_PASSWORD=example wordpress:6.4.2-php8.2-apache
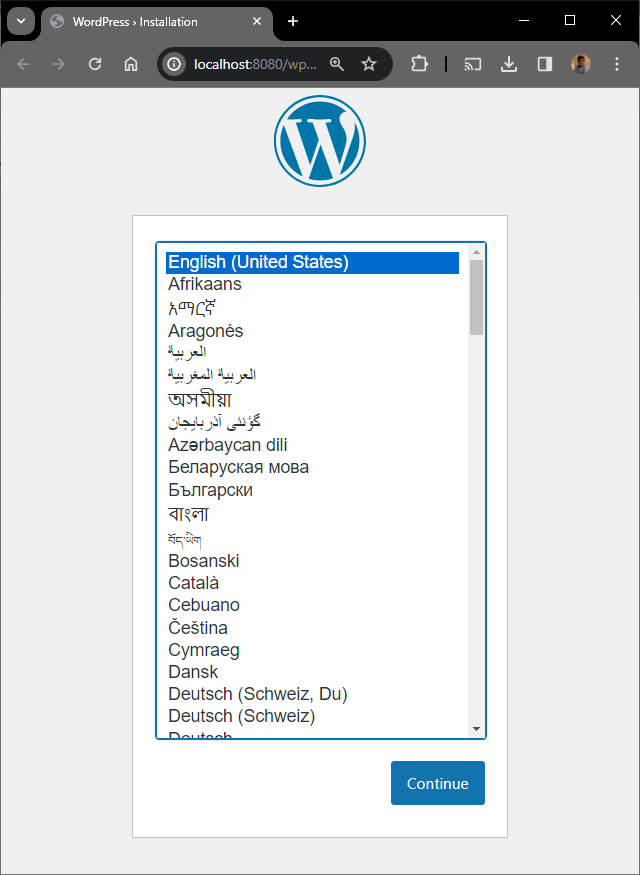
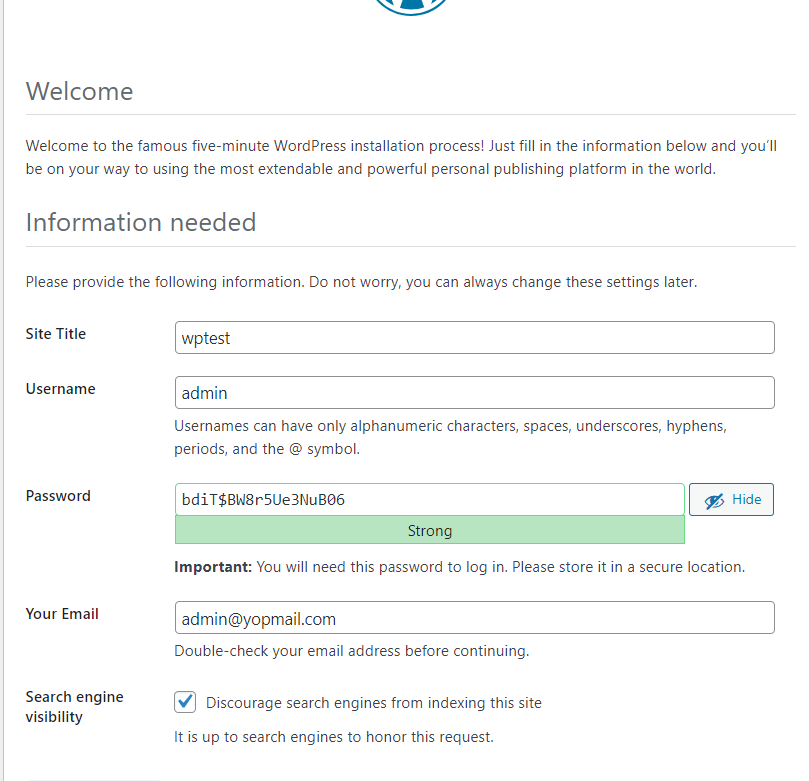
The following command will run WordPress in an Apache container and making the site available on http://127.0.0.1:8080.
As you can see, we don't need to pay attention to the wp-config.php file since we are setting environment variables in our docker run command.
If you get Error establishing a database connection, please wait a little before refreshing the web page. It means MySQL / Maria wasn't yet ready to handle the connection.
Optional, start phpmyadmin
As we've seen in the Using Adminer, pgadmin or phpmyadmin to access your Docker database container article, we can access to a database container using f.i. phpmyadmin. To do this, just run the following command in a terminal:
docker run -d --rm --network wordpress --name phpmyadmin -e PMA_HOST=db_wordpress -p 8089:80 phpmyadmin
By surfing to http://127.0.0.1:8089, you can connect to the database. Credentials to use for the connection are wpuser / example.

Remove containers
If you wish to stop and remove containers after usage, you can run the following bloc of instructions in a Linux terminal:
docker rm $(docker stop $(docker ps -a -q --filter="name=app_wordpress"))
docker rm $(docker stop $(docker ps -a -q --filter="name=db_wordpress"))
docker network rm wordpress
Or, by hand, go to your Docker Desktop interface, click on the containers tab and remove the containers manually.
Conclusion
As introduced, we just need three commands to create, from nihil, a new wordpress site on our disk. This just in seconds (depends on the speed of your computer). Easy no?
docker network create wordpress
docker run -d --name db_wordpress --hostname db_wordpress --network wordpress -e MYSQL_RANDOM_ROOT_PASSWORD=1 -e MYSQL_DATABASE=wordpress -e MYSQL_USER=wpuser -e MYSQL_PASSWORD=example mysql:8.0.13
docker run -d --name app_wordpress --hostname app_wordpress --network wordpress -p 8080:80 -e WORDPRESS_DB_HOST=db_wordpress -e WORDPRESS_DB_NAME=wordpress -e WORDPRESS_DB_USER=wpuser -e WORDPRESS_DB_PASSWORD=example wordpress:6.4.2-php8.2-apache