Running your own blog with Docusaurus and Docker


This article continues where Running Docusaurus with Docker left off. Make sure to read it first and to create required files first.
So you've created your own blog using Docker and Docusaurus. By following steps explained in the Running Docusaurus with Docker article, now, you've a blog with the list of articles stored on your machine; in a blog folder.
Let's go further.
In the previous article, we've created a folder on your disk; we'll reuse it.
Please run cd /tmp/docusaurus to jump in it, then open the folder using your editor (I'll run code . on my side).
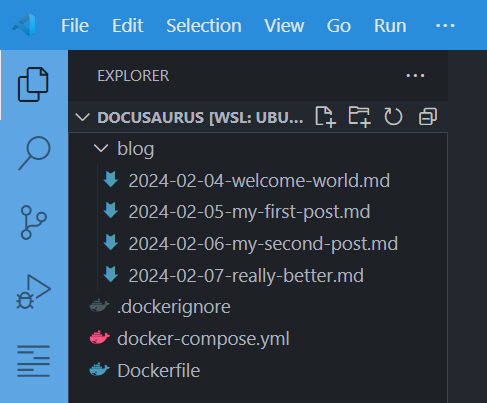
In Visual Studio Code, you should see this (if not, read and run commands from the first article):
And by running docker compose up --detach --build to start the blog, you'll get this screen:

Customize the name, title, icons and URL of your site
Right now, we can see My Site in the top left of the screen.
There is a very important file in Docusaurus, i.e. docusaurus.config.js (https://docusaurus.io/docs/api/docusaurus-config).
We need to adjust the file to meet our wishes.
Ok, now, a very important concept: we need to keep a copy of everything we've to update on our computer.
To copy a file from our container on our disk, the command to use is docker compose cp <service-name>:/file/path/within/container /host/path/to/copy/file/to
So, to copy the docusaurus.config.js file on your disk, you've to run docker compose cp blog:/app/docusaurus.config.js /tmp/docusaurus/docusaurus.config.js (replace /tmp/docusaurus with the folder name where you've created your blog, on your hard disk).
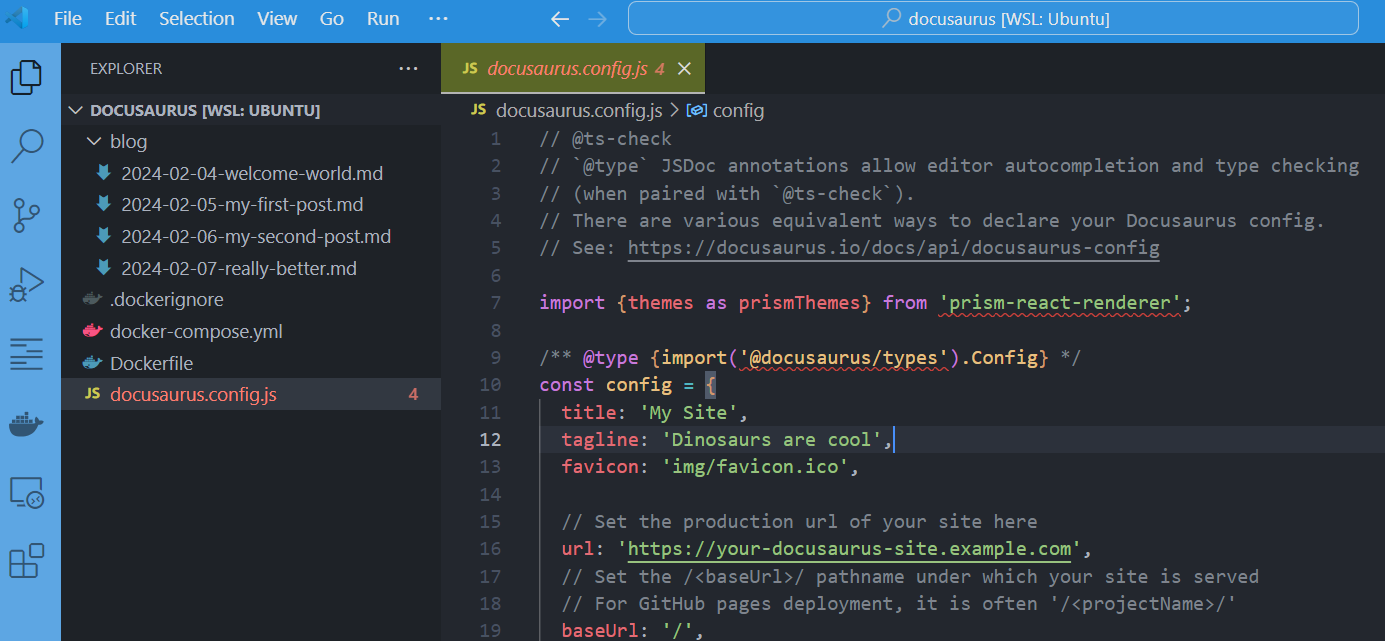
Once the copy has been done, you can retrieve the file in your editor:
And the second thing we need to do to allow us to update the file and reflect changes in our Docker container is to mount the file.
Please edit your docker-compose.yml file and add the line below highlighted:
name: my_docusaurus_blog

services:
  blog:
    build: .
    ports:
      - 3000:3000
    user: 1000:1000
    volumes:
      - ./blog:/app/blog
      - ./docusaurus.config.js:/app/docusaurus.config.js
We're almost done, we need to recreate our container so we'll run docker compose up --detach again.
By refreshing the web page, we'll not see any change but ... please update the docusaurus.config.js file now.
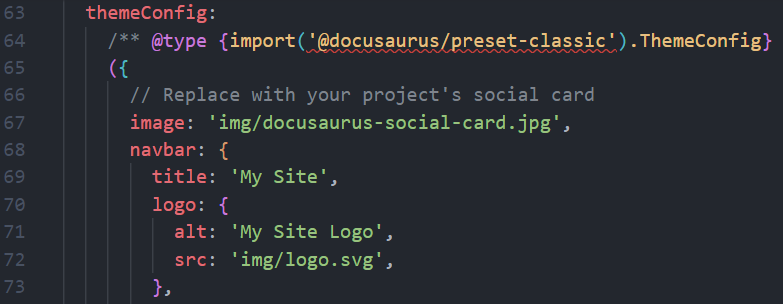
So, open docusaurus.config.js and search for themeConfig then, there, for the navbar node.
You'll find something like this:
Change the tex to what you wish, f.i.
navbar: {
  title: 'Welcome world!',
  logo: {
    alt: 'It\'s a photo of me ... or not',
    src: 'https://i.pravatar.cc/300',
  },
}
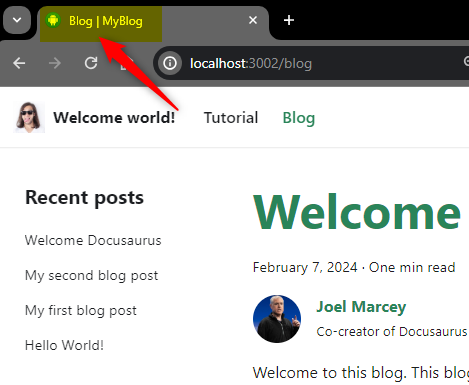
Just save and refresh your browser and you'll get:

When you wish to be able to update a file present in a container; you need to get the file on your disk (1) and, then, synchronize the file between your computer and the container (2).
For the first thing, the command to use is docker compose cp followed by the name of the container (just look at your docker-compose.yml file, it's the name of the service) then you need to say where the file is stored in the container and where to copy it on your disk. That's why we've used docker compose cp blog:/app/docusaurus.config.js docusaurus.config.js to do this.
The second thing is to allow changes done in that copied file to be reflected between your host and the container and this is why we've updated the list of volumes in the docker-compose.yml file. So, now, changes done on your disk or done by the container will be synchronized both sides.
Next step, still in file docusaurus.config.js, look for the title, favicon and url, then initialize them to your own values; f.i.
const config = {
  title: 'MyBlog',
  favicon: 'https://www.iconarchive.com/download/i75799/martz90/circle/android.ico',
  url: 'https://yoursite.com',

  // ...
};
You don't need to restart the docker up command this time, just press F5 to see your changes directly in your browser.
You can do a lot more when updating the docusaurus.config.js file; please refer to the official documentation https://docusaurus.io/docs/api/docusaurus-config.
The src/pages folder
The src/pages folder contain files like index.md that will be translated to index.html (your homepage thus). You can also create a file called tutorial.md (which will be tutorial.html) and create a menu entry in your navigation bar with /tutorial.html for the target.
You have to copy the folder from the container to your host and, as you've already seen it. Please run the command below to copy the folder on your host:
docker compose cp blog:/app/src src
You need to update your docker-compose.yml file and add the line below highlighted:
name: my_docusaurus_blog

services:
  blog:
    build: .
    ports:
      - 3000:3000
    user: 1000:1000
    volumes:
      - ./blog:/docusaurus/blog
      - ./docusaurus.config.js:/docusaurus/docusaurus.config.js
      - ./src:/docusaurus/src
The static folder
That folder contains files to will be copied to your root directory when you deploy your blog. So this is the perfect place to put, f.i. a .htaccess or a robots.txt file.
On my side, I use that the static folder to store my common images (the ones I use multiple times). So I've created a folder static/img on my own blog. That folder will thus be copied to the /img (directly under the root) on my server. Accessing images in my articles will then be easy, the source will be something like /img/image_name.ext.
Please run the command below to copy the folder on your host:
docker compose cp blog:/app/static static
And update your docker-compose.yml file like this:
name: my_docusaurus_blog

services:
  blog:
    build: .
    ports:
      - 3000:3000
    user: 1000:1000
    volumes:
      - ./blog:/docusaurus/blog
      - ./docusaurus.config.js:/docusaurus/docusaurus.config.js
      - ./src:/docusaurus/src
      - ./static:/docusaurus/static
You now have the basics
Just continue your journey, surf to https://docusaurus.io/docs and read the documentation.
Also find inspiration in the Docusaurus Site Showcase: https://docusaurus.io/showcase.
The keyboard is yours! Don't delay, start writing your blog now!