Running Docusaurus with Docker


As you know, this blog is powered by Docusaurus.
I'm writing blog posts in Markdown files (one post = one .md file) and Docusaurus will convert them into HTML pages.
In this first article, we're going to learn how to install Docusaurus... ouch, sorry, not install Docusaurus as we're going to use Docker to simplify our lives.
Create your own Docusaurus image
Create a temporary directory by running mkdir /tmp/docusaurus && cd $_.
This done, start your preferred editor and open the folder. On my side, I'm using Visual Studio Code so I'll just run code . in my Linux console.
Create a Dockerfile file
In your project directory (so /tmp/docusaurus), create a file called Dockerfile with this content:
FROM node:21-alpine

RUN npx create-docusaurus@latest /app classic && \
    chown -R node:node /app

USER node

WORKDIR /app

RUN cd /app && yarn install

COPY . .

CMD ["yarn", "start", "--host", "0.0.0.0"]
Dockerfile - explanations line by line
- Line 1: we'll use Node.js v21 in his alpine version,
- Line 2: the
RUN npx create-docusaurus@latest /app classic && chown -R node:node /appcommand will install the latest version of Docusaurus (in the/appfolder) and make sure the folder is owned by ournodeuser, - Line 3: from now, we'll do everything using the
nodeuser, - Line 4:
/appwill be the default working directory in the image, - Line 5: the
cd /app && yarn installcommand will jump in the folder and will install node dependencies, - Line 6:
COPY . .will copy everything from your project's directory (on your host) into the Docker image (in folder/appsince that one is the default working directory) and - Line 7: the command
CMD ["yarn", "start", "--host", "0.0.0.0"]will runyarn start --host 0.0.0.0which is the instruction to run Docusaurus, make the transparent conversion from Markdown pages to HTML and will render the website on the default port (which is port3000).
Create a .dockerignore file
We've seen here above the COPY . . command which instructs to copy everything from our project's directory from our local computer to the Docker image but, in fact, no, we don't need to copy everything.
In the Docker image, we don't need to have such folders like build or node_modules neither files like .gitignore or some others. We don't need them because they will be created in Docker (node_modules is created using the yarn install command so no need to lose time to copy that folder).
But, also, we don't need to copy folders like blog, pages, static, ... since these folders have to stay on our computer and just synchronized with the running Docker container (so no need to put them in the image at this stage).
So, please create a .dockerignore file with this content:
build/
node_modules/

.dockerignore
.gitignore
.markdownlint_ignore
.markdownlint.json
*.log
docker-compose.yml
Dockerfile
LICENSE
makefile
README.md

blog/
pages/
static/
Create a docker-compose.yml file
The third file to create is docker-compose.yml with this content:
name: my_docusaurus_blog

services:
  blog:
    build: .
    ports:
      - 3000:3000
    user: 1000:1000
    volumes:
      - ./blog:/app/blog
As you can see, we need to have a folder called blog on our machine and we'll synchronize that folder inside the Docker container. Our blog folder will be mounted in folder /app/blog in the container.
Create simple blog items
Just to have a bit of content, let's create a few articles automatically.
Please run the following commands to create three Markdown files (our posts) in the blog folder:
(
mkdir -p blog && cd $_
echo '---' > 2024-02-04-welcome-world.md
echo 'title: Hello World!' >> 2024-02-04-welcome-world.md
echo '---' >> 2024-02-04-welcome-world.md
echo 'Hello world! Proud to be here!!!' >> 2024-02-04-welcome-world.md
echo '---' > 2024-02-05-my-first-post.md
echo 'title: My first blog post' >> 2024-02-05-my-first-post.md
echo '---' >> 2024-02-05-my-first-post.md
echo 'My first blog post' >> 2024-02-05-my-first-post.md
echo '' >> 2024-02-05-my-first-post.md
echo '' >> 2024-02-05-my-first-post.md
echo '---' > 2024-02-06-my-second-post.md
echo 'title: My second blog post' >> 2024-02-06-my-second-post.md
echo '---' >> 2024-02-06-my-second-post.md
echo 'My second blog post' >> 2024-02-06-my-second-post.md
echo '' >> 2024-02-06-my-second-post.md
echo '' >> 2024-02-06-my-second-post.md
)
So if you take the time to look at what we've now in our /tmp/docusaurus folder, here is the list of files / folders:
❯ tree -a -L 2

.
├── .dockerignore
├── Dockerfile
├── blog
│   ├── 2024-02-04-welcome-world.md
│   ├── 2024-02-05-my-first-post.md
│   └── 2024-02-06-my-second-post.md
└── docker-compose.yml
tree is not part of core Linux installationJust in case you're interested by the tree utility and don't have yet, simply run sudo apt-get update && sudo apt-get install tree to install it. This step is optional.
Run Docusaurus
At this stage of the tutorial, you've all required files and a few blog posts so, let's start everything:
docker compose up --detach --build
After a few minutes (only the first time), your Docusaurus Docker image will be created and a container will be started.
Your blog is now accessible on your computer here: http://localhost:3000.
The port number is the one you've mentioned in the docker-compose.yml file in line 3000:3000.
If you wish another port like 3002 f.i., just edit the yaml file and replace 3000:3000 with 3002:3000 and rerun the docker compose up --detach command.
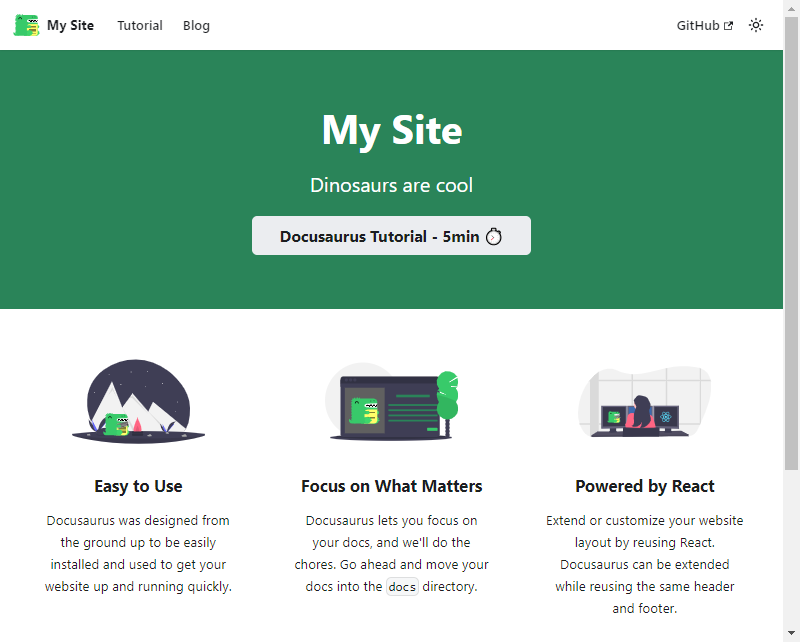
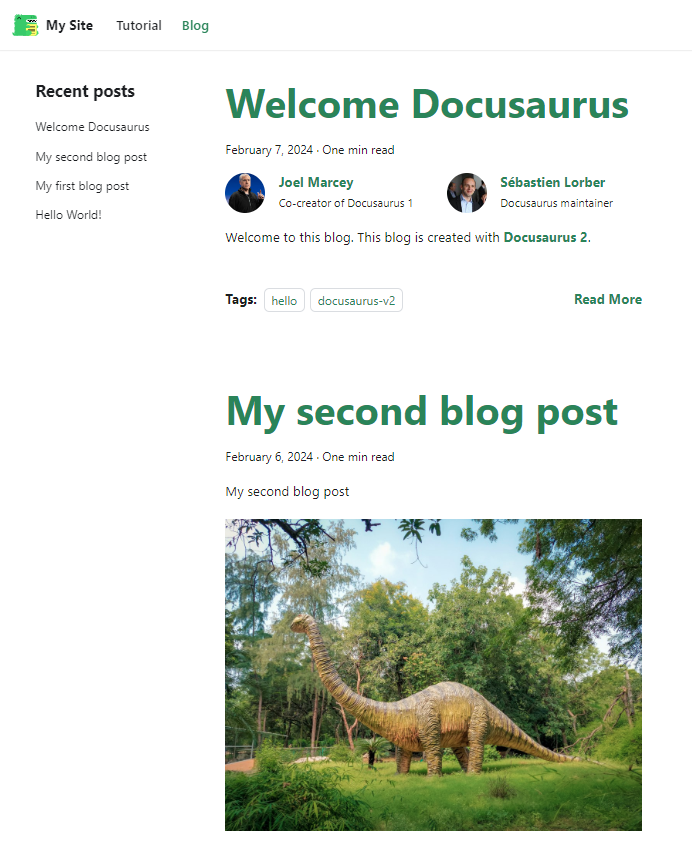
And if we click on the Blog menu, we can see our posts:

As you can see, the default ordering follows chronological order: the last blog item we've created (2024-02-06-my-second-post.md) is the first one in the list.
For this tutorial, images comes from unsplash.com but with a theme: dinosaurs. If you refresh the page, you'll get new images.
Improved look&feel
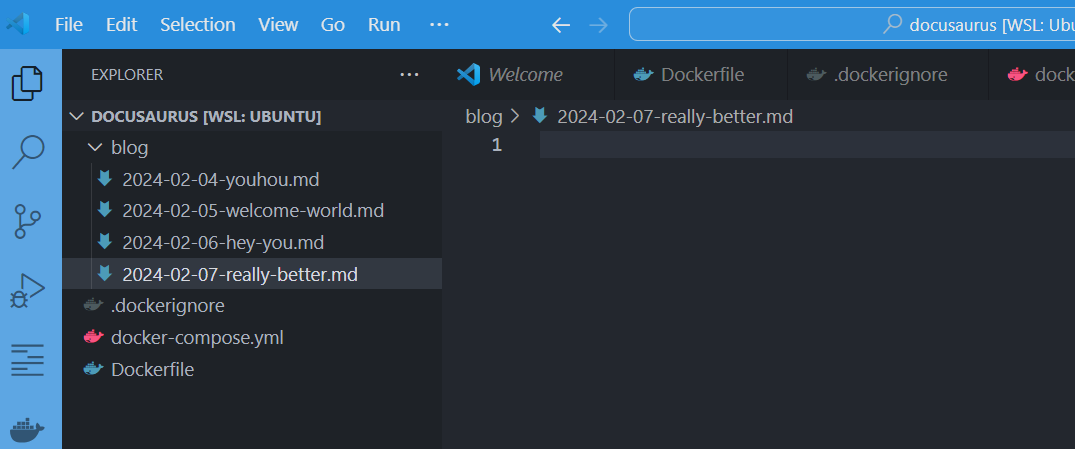
We'll create on our computer a file in our blog folder. I'm using vscode so I jump in my editor, go to the blog folder and create a new file, let's say: 2024-02-07-really-better.md
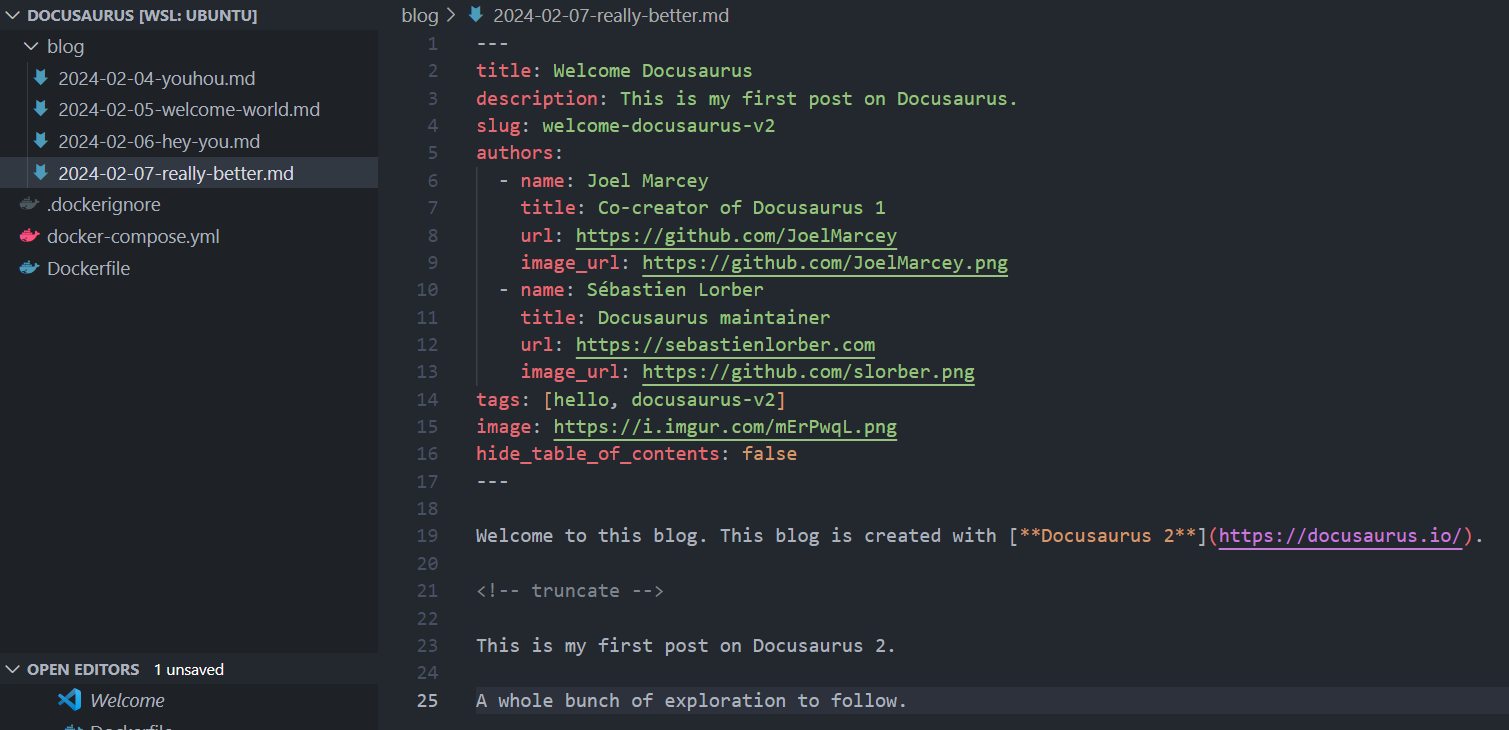
For ease of use, go to this tutorial: https://docusaurus.io/docs/blog#adding-posts.
Copy/paste the 2019-09-05-hello-docusaurus.md example to your 2024-02-07-really-better.md file.
Just go back to your browser and refresh the page (press F5). Your new post is there!
Stop and restart
Since the blog folder is stored on your computer, we can stop the blog and start it again without losing anything.
To illustrate this, we can run docker compose stop && docker compose rm --force to stop and kill the container. Then run docker compose up --detach --build to rebuild it. By surfing back to http://localhost:3000, as you'll see, you've still your blog with your latest changes. Nothing was lost.